Pictures of White Mountain from Jeffrey Mine
If you would like the original, high-resolution pictures, contact me
Notes of this trip | Back to California hikes | Pictures of the world
(If you have a slow-speed connection, click here for smaller pictures)
See this page for more detailed pictures of the first part of the hike to Black Eagle Camp

Map of the trailhead

White Mountain from the highway

The road to the trailhead

Jeffrey Mine canyon

Jeffrey Mine canyon

The dirt road begins here

The "trailhead" at the end of the dirt road

Towards the cabins

The Jeffrey Mine canyon

Towards the cabins

The trail is not always obvious

Turn right at this sign to check out the cabins

Welcome to Black Eagle camp

The cabins

The cabins

The cabins

The cabins

The canyon from the cabins

The cabins

The museum

The museum

The museum

The cabins

Black Eagle Camp

Above the cabins

Up the trail

Up the trail

Looking back

Looking back

Up the trail

Up the trail

Remnants of mining

Up the trail

Up the trail

Looking back

First views of the summit

First views of the summit

Right before the gendarmes there is a good place to cross the creekbed

The creekbed

Wildflowers
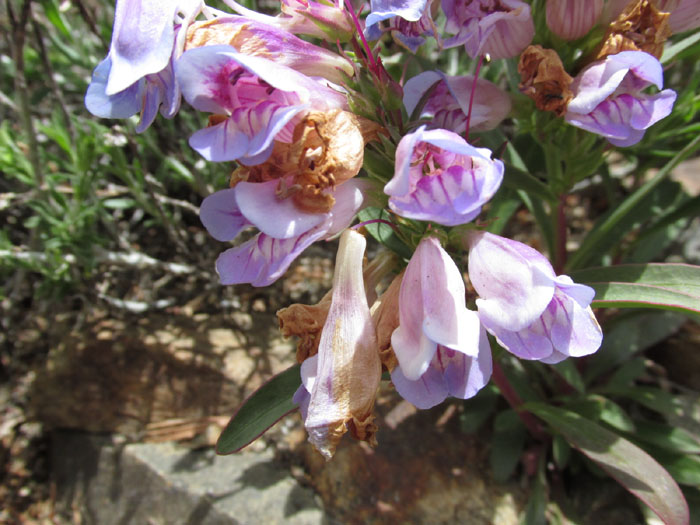
Wildflowers

Wildflowers

Wildflowers

Looking back

The gendarmes from the south ridge

Looking back

The north ridge

Looking back to the cabins and the desert

Looking back to the cabins and the desert

Up the south ridge

There actually at least two south ridges

The north ridge from the south ridge

The saddle and the spine to the West Peak

The spine to the West Peak

The saddle and the spine to the West Peak

The snorth ridge from the south ridge

Cairns in the middle of the saddle

View south

The north ridge

The north ridge and the valley behind it

Towards the West Peak

Towards the West Peak

Towards the West Peak

The summit

Towards the West Peak

Towards the West Peak

Towards the West Peak

Wildflowers

Towards the West Peak

The summit to the left and the West Peak to the right

View north centered on the summit
Towards the West Peak
The summit in the clouds
The West Peak
The summit
Wildflowers
At the West Peak
At the West Peak
At the West Peak
Looking back from the West Peak
Views
Views
Views
The summit
Downclimbing from the West Peak
Downclimbing from the West Peak
Towards the summit
Towards the summit
A glider over the summit
Looking down from the saddle into the canyon to the north, another possible route
The summit very far from the west peak
The ridge to the summit on the right of this picture
Some up and down class-3 moves required
Beginning to downclimb the west peak
Looking back at the ridge to the west peak
Looking back at the ridge to the west peak
The summit still very far - you can see the last chute clearly to the left
The ridge to the top from the west peak
Downclimbing the west peak
Downclimbing the west peak
Looking back at the West Peak after the downclimb
Ignore that saddle way east
The saddle and the top
The saddle
The ridge to the summit
Past the saddle looking back at the West Peak
Just follow the ridge - the summit is not visible for a while
Just follow the ridge - the summit is not visible for a while
A weird saddle to the left of the summit (NOT en route)
Take the lower one
This one
The route to the top
The chute from a distance
The chute to the left, the class-3 route in the middle and the summit cabin
The chute from the bottom
The chute from the top
Last climb to the summit
Staring at the route
Staring at the route from the top of the last chute
View of the route from the summit
USGS marker

Eastern Sierra panorama
Video of Black Eagle Camp
Back to California hikes
If you would like the original, high-resolution pictures, contact me